How To Build An Energy Charging Mat
One of the major obstacles to routinely using an energy charging kit is getting it
set up. Unpacking the wires, arranging them, and getting them positioned with respect to the
body can take several minutes. It is easy to just decide it is too much hassle, and
deny oneself the benefits of using a charging kit. This roll up charging mat removes
that barrier, leaving you no excuse for not using your charging kit every day.
This description of how to build a charging mat assumes you already know what
a charging kit is, as covered in
Free Video Explaining How To Charge Yourself From the Tachyon Field
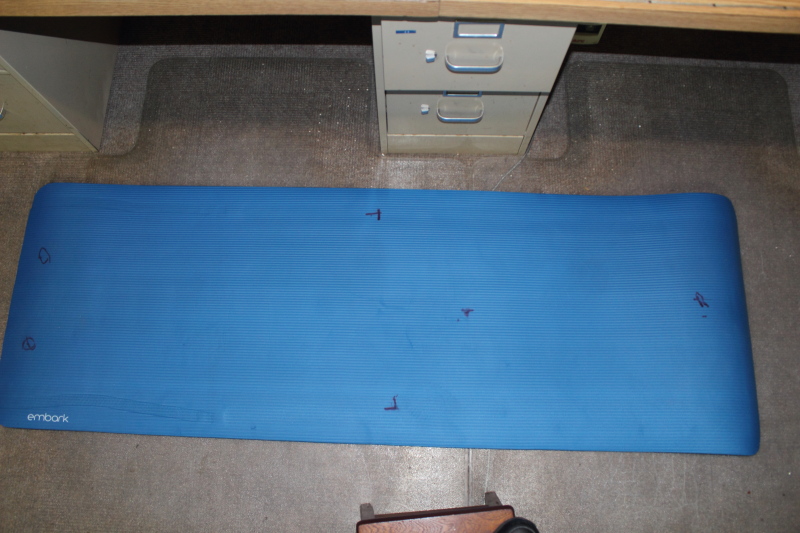
The project starts with a 24" x 72" x 1/2" exercise mat. I found this one at Target for $30.
I unrolled it, then laid on it so I could mark the position of my feet (heels-on left side),
my hands (center), and the base of my spine and neck (right). These are the contact points
for the wires used in the Eeman circuit.
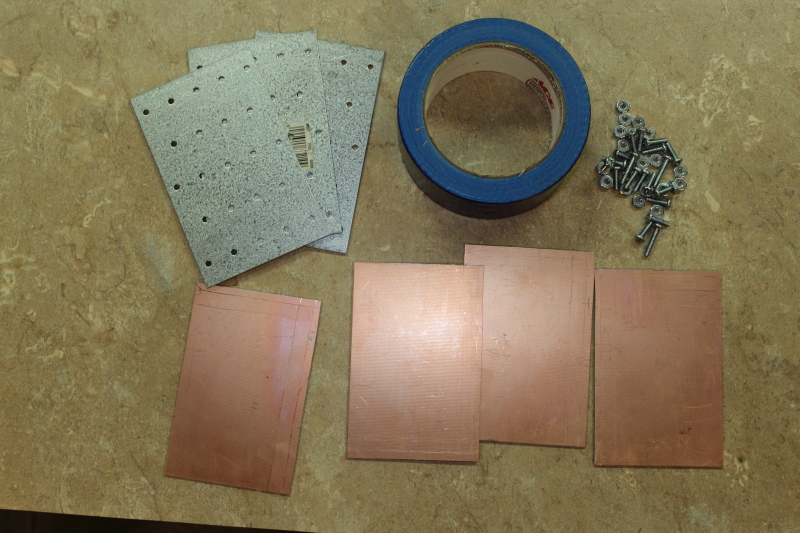
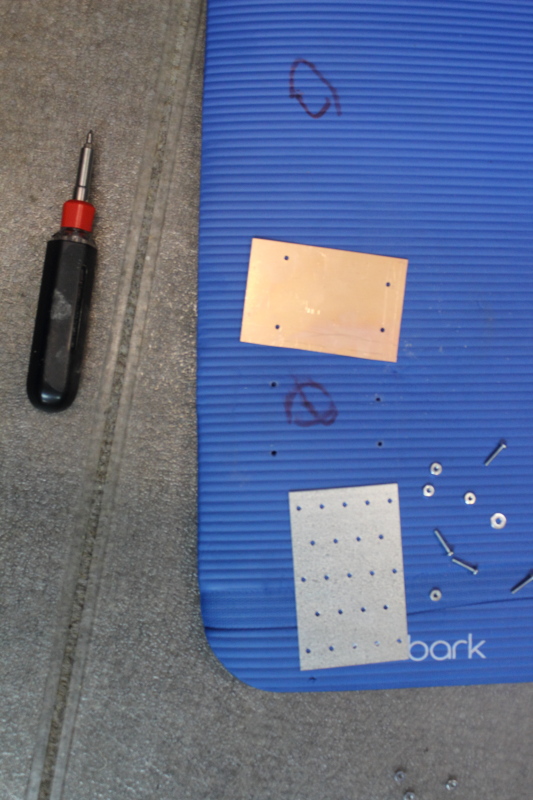
To make the circuit, I collected some copper plated circuit boards, small bolts and
nuts, some metal backing plates, and some blue duct tape. The circuit board
material came from Radio Shack as a 6" x 9" sheet. I used a Rockwell table mounted
saber saw to cut this into 4 3"x4.5" pieces.
The metal backing plates were some left over construction framing plates. Anything stiff
will do. The plan was to make contact pads
by sandwiching the mat between a circuit board and a backing piece.
I used a set of wires I already had.
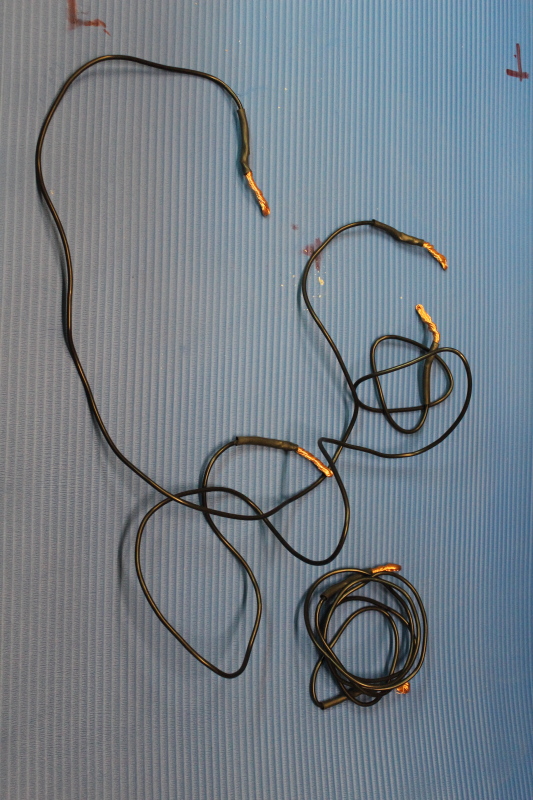
If you have to buy some wire, this is what I use.
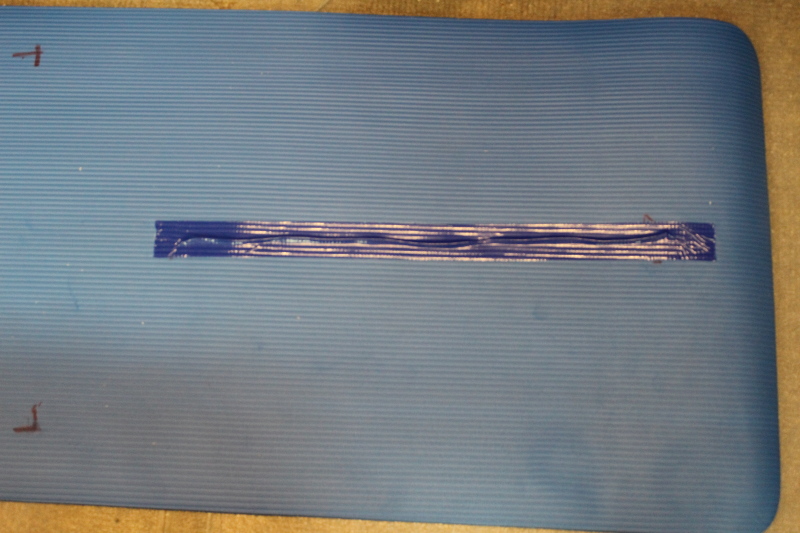
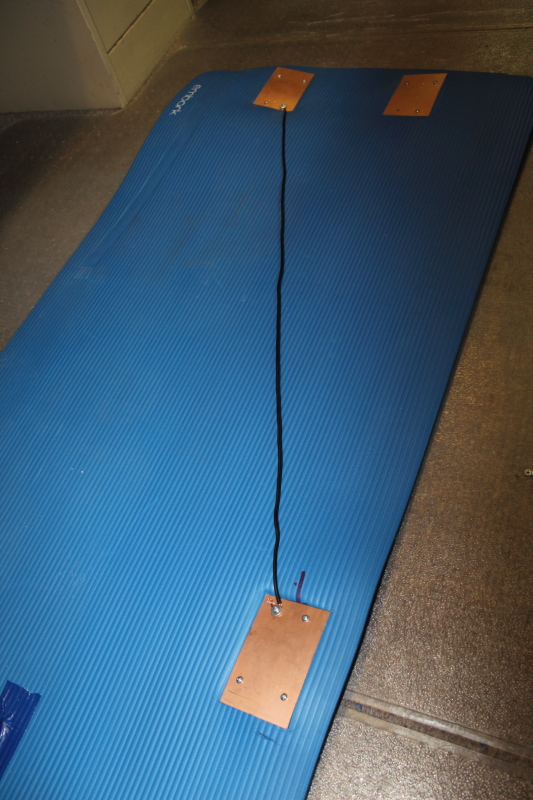
 I first cut the wire that runs from the base of the spine up to the neck to length,
and simply taped it down with the duct tape. The ends are simply cut, no twisted ball as in
the original charging kit.
I first cut the wire that runs from the base of the spine up to the neck to length,
and simply taped it down with the duct tape. The ends are simply cut, no twisted ball as in
the original charging kit.
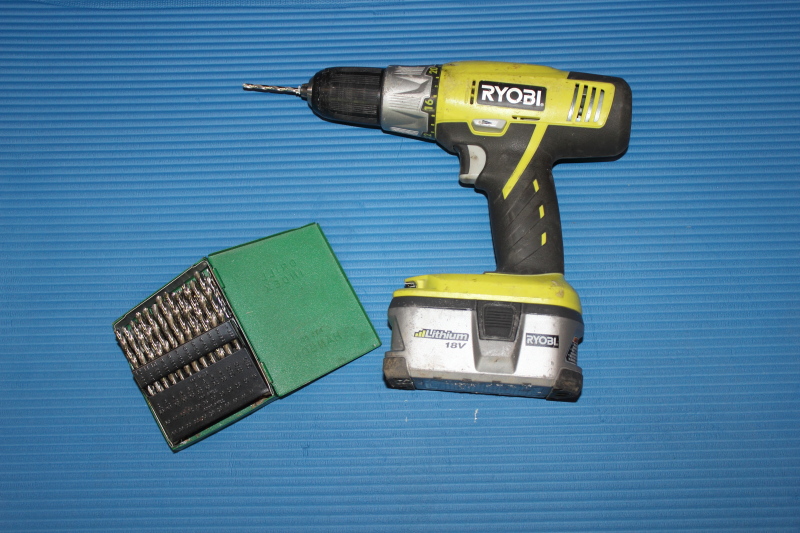
I rounded up my electric drill and set of machine sized drill bits.
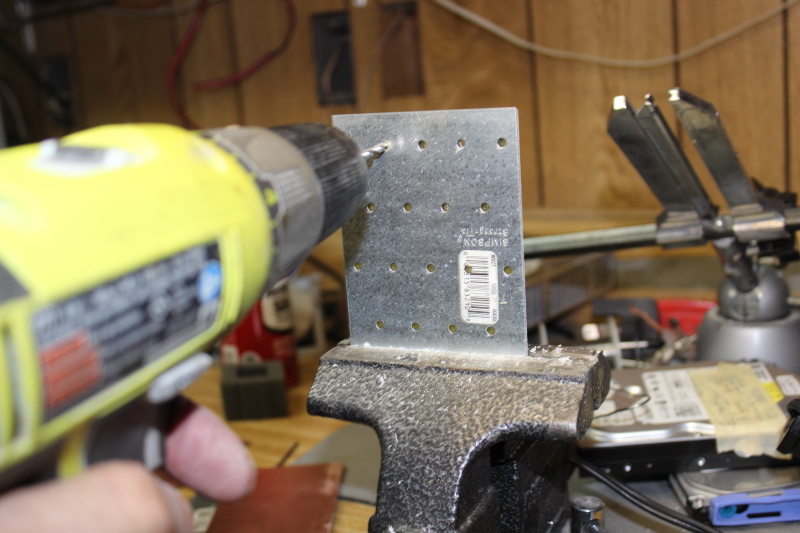
I then took the metal plates and copper plates, clamped them in a vice, and
drilled 4 holes through the mounting plate and the copper plate. That way
I had accurately aligned holes.
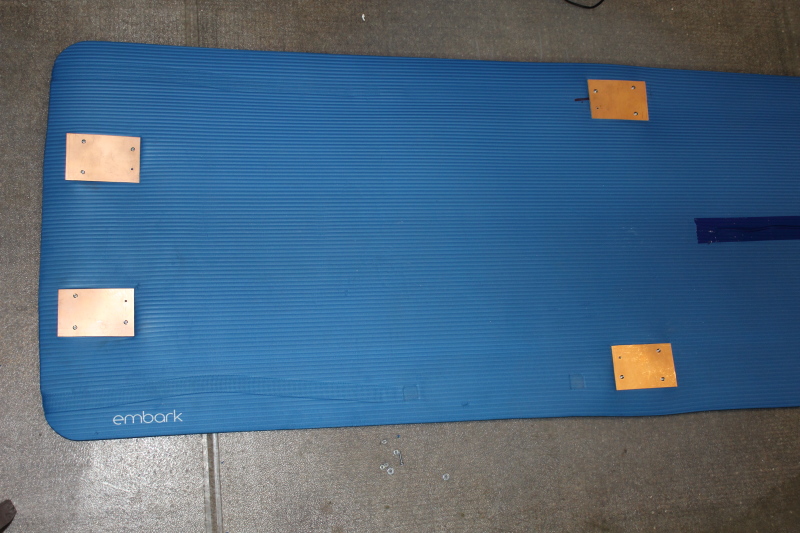
I positioned the plate pairs over the contact point marked on the mat, and used the drill to drill
holes through the mat. I used 3/4" 6-32 nuts and bolts. The copper plate goes on top
of the mat, and the backing plate goes on the bottom. They are squeezed together and bolted in place.
I left the bold that is on the interior corner off, so I could use it to attach wires later.
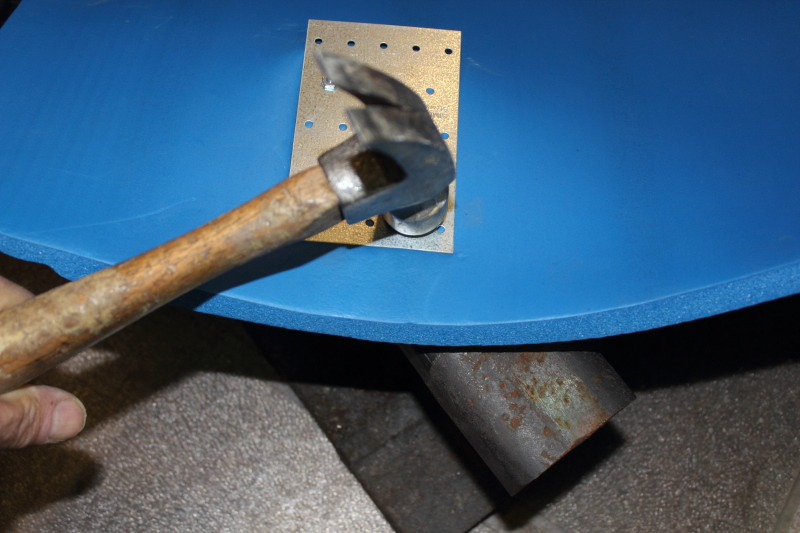
After bolting the plates to the mat, I blunted the tips of the bolts with a hammer to keep the nuts from coming off.
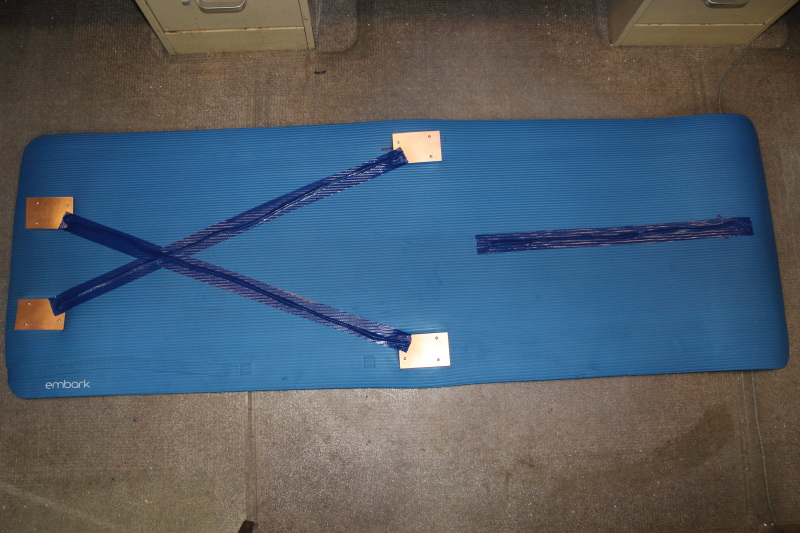
This shows the mat with the 4 contact plates mounted to the pad.
I then attached the wires to the plate with a bolt and washer. The important part
here is that the copper wire has to contact the copper plate.
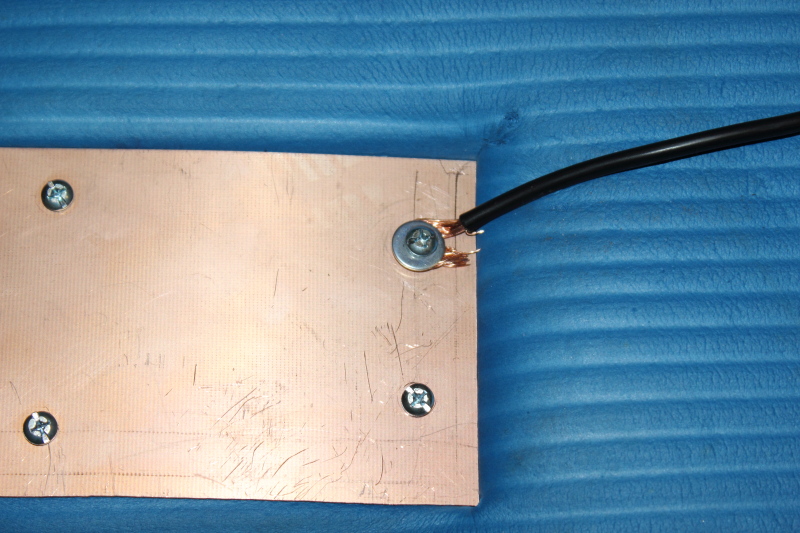
This is the first wire in place.
It is then covered with duct tape.
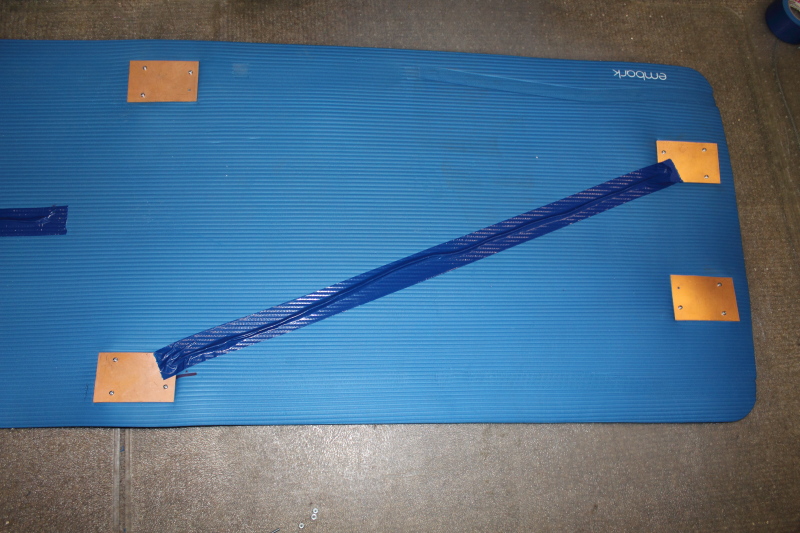
This is with all three wires in place.
I also covered the backing plates on the bottom of the mat with duct tape, so they
would not scratch the floor. Then I added two strips of Velcro, positioned
such that when I rolled the mat up, I could hold it rolled up it with the Velcro.
The soft fuzzy side of the Velcro goes on the top of the mat, so it is easy to lay on.
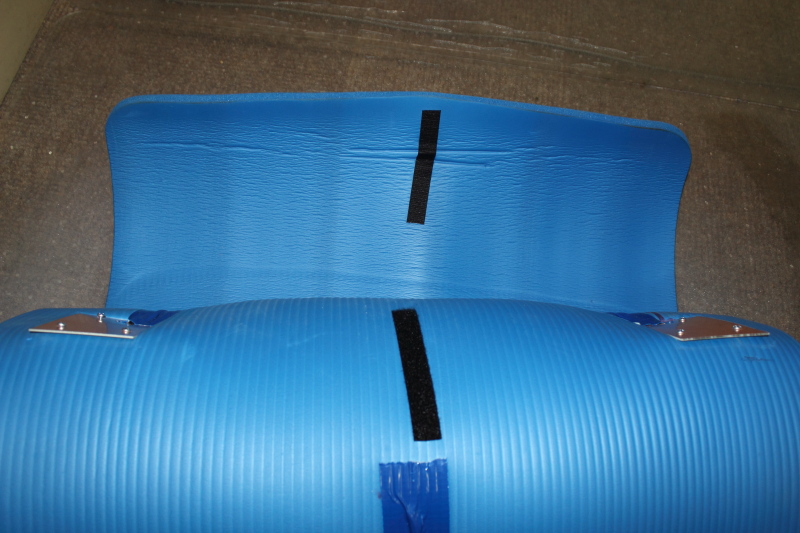
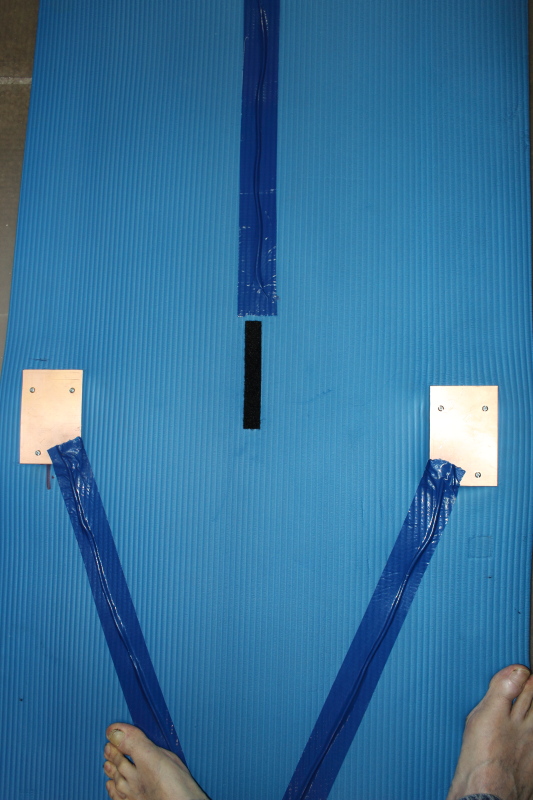
this shows the location of the fuzzy Velcro strip, center of mat.
Pardon the toes.
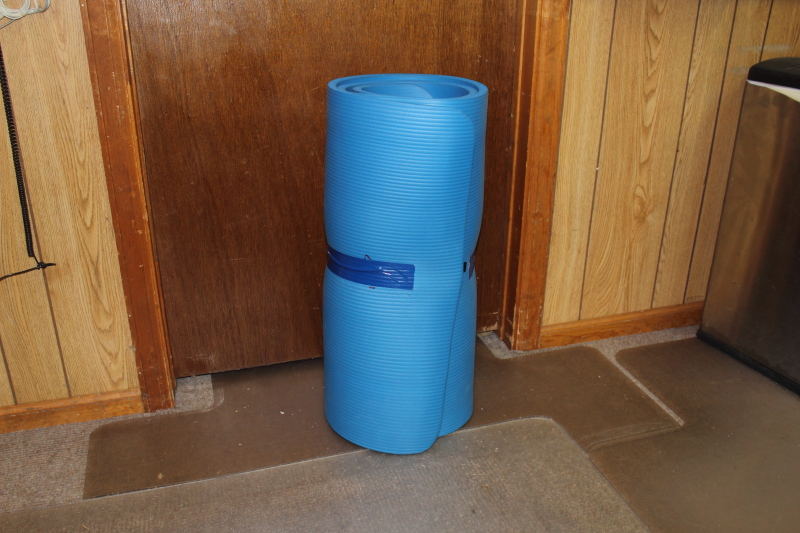
This is the mat rolled up for storage. It is rolled with the top side out.
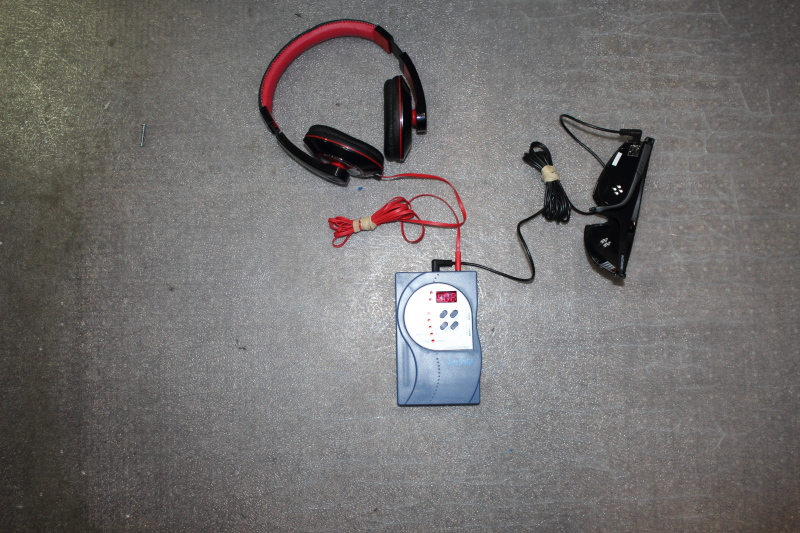
To use the mat, I simply unroll it, take of my shoes and socks, and lay down on
it with my heels on the foot pads and my hands on the hand pads. I also use
a
PhotoSonix
Inner Pulse sound and light machine. Their r02 Relaxation program is just 15 minutes
long, and combines with the energy charging mat to give me a total energy boost
and balance quickly.
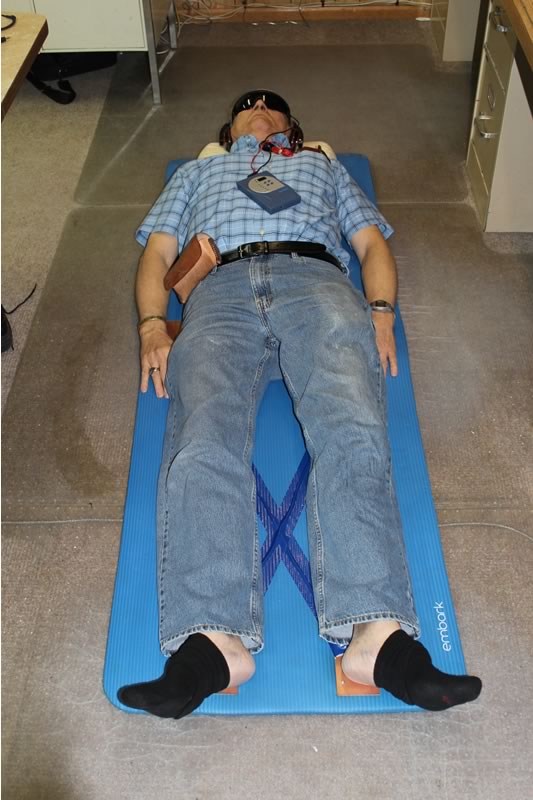
This is me getting my daily charge.
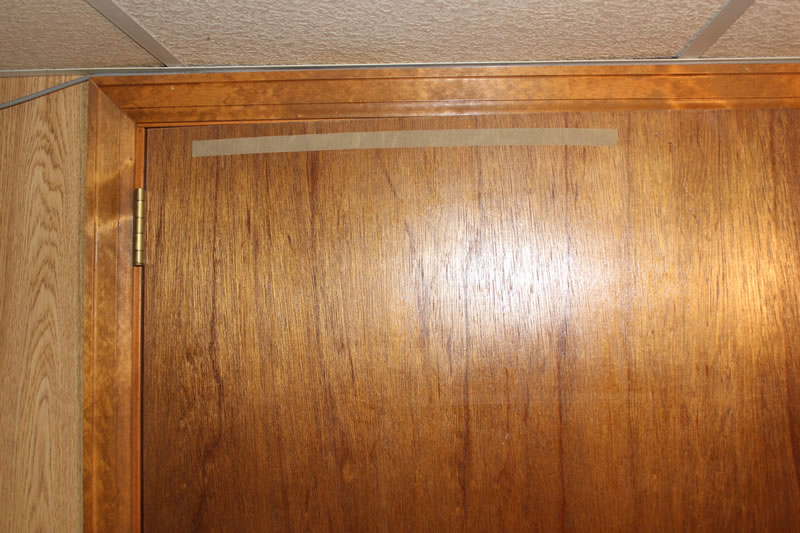
To make use of my mat even more convenient, I found a simple way to store it.
I attached the hook side of a Velcro strip to the back of a door.
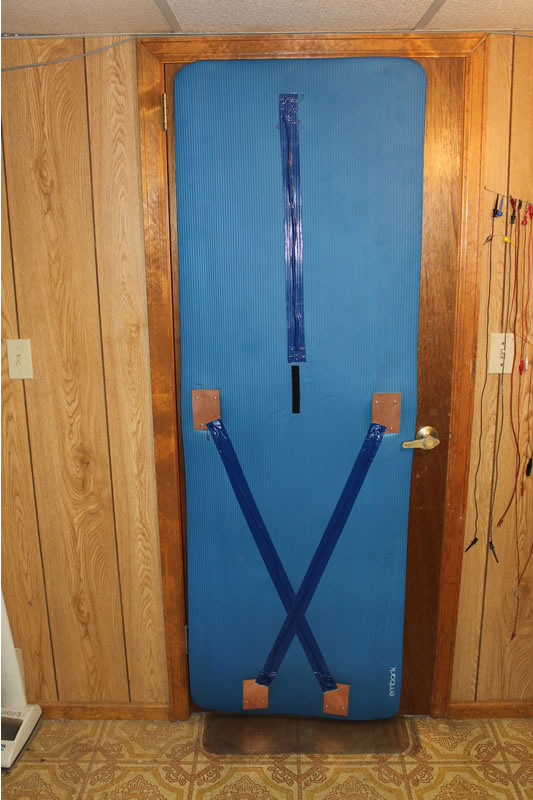
I put the fuzzy side of the Velcro on the bottom of my mat, and hung the
mat on the back of the door. Now it is very easy to get out and use.
I recommend using this charging set up in the morning before trading. If at any time
during the trading day you become confused, take a break, and use it again.
Those 15 to 20 minutes will clear your head, rebalance your mind, and refuel your
energy.
If anyone wishes to use this idea as a commercial product, feel free. Just let me know
so I can send you customers.
| 